

Fix Blurry Portfolio Images: Check Source. Size and Delivery
Why do portfolio images look blurry after publishing? Check the
On this page
Why do portfolio images look blurry after publishing?
Check the original image, the displayed size and the file actually delivered by the published page. A small source stretched into a large project hero, a low-resolution derivative or the wrong crop can all look like “compression.” Identify the failing layer before uploading larger files everywhere.
The useful test is one image in one real viewing condition. A thumbnail that looks acceptable in a small card may fail when reused across a full-width case study. A source containing tiny screenshot text can also remain hard to read even when the photograph itself looks sharp.
This guide diagnoses image clarity, not the whole site’s speed. Use the existing responsive-gallery guide for gallery structure and the site-speed checklist for broader performance work. DesignToCodes sells related portfolio layouts; no package or customer-result test is claimed here.
Identify the symptom before changing the file
| What you observe | First thing to inspect | Useful repair direction |
|---|---|---|
| Small card is sharp, large hero is soft | Source and delivered dimensions at the larger display size | Supply an appropriate larger source or reduce the display size |
| Text inside a screenshot is unreadable | Original screenshot and how much it is scaled | Show a relevant crop and explain the detail in page text |
| Image is sharp but the subject is missing | Crop and fit behavior | Adjust framing rather than image quality |
| Editor looks sharp, public page does not | Published resource and image settings | Inspect the actual delivered version |
| Only one viewing condition looks wrong | Viewport, zoom and display scaling | Compare the same image under documented conditions |
Changing several settings at once makes the result harder to interpret. Save the starting observation, alter one relevant input and check the public page again. Keep an approved original so you can reverse an unhelpful edit.
Step 1: inspect the original rather than its preview
Open the source image and examine the detail you expect a visitor to see. Record its pixel dimensions and whether it has already been enlarged, heavily compressed or captured from a small preview. Renaming a small file or placing it in a larger export canvas does not restore missing detail.
Separate photographs, interface screenshots and logos. Their content creates different clarity problems. A photograph can tolerate a different presentation from a screenshot filled with small labels. For a project decision that depends on a small interface detail, provide a readable close-up and a caption rather than making the visitor zoom into a whole screen.
Step 2: compare source, display and delivered resource
| Inspection field | What to record | Why it helps |
|---|---|---|
| Original dimensions | Width and height in pixels | Establishes the available source detail |
| Displayed size | Approximate rendered width and height | Reveals substantial enlargement |
| Delivered file | The public page’s selected image resource | Distinguishes upload from delivery behavior |
| Viewing condition | Browser, viewport and zoom | Makes the before/after comparison repeatable |
| Fit/crop | Contain, cover or implementation equivalent | Separates lost framing from softness |
| Observation | The specific detail that is unclear | Defines what the repair should improve |
The browser can choose among responsive image candidates. The MDN responsive-image guide explains srcset and sizes; inspect the selected resource and the intended layout instead of assuming the largest uploaded file is always delivered. Display density is another reason that a file’s width and its visible size are not the same concept.
In a browser’s element inspector, examine the image’s selected source and rendered dimensions. If the image uses a background or a platform-generated wrapper, follow that implementation rather than assuming it is a plain image element. Record the result without exposing private project URLs or unreleased customer assets.
Step 3: use the controls for the actual platform
Framer describes automatic image optimization in its image-delivery documentation and provides resolution options. Check the published result after changing a setting. Do not disable optimization across the entire site simply because one project image is unclear.
For a coded HTML or Next.js portfolio, inspect the component, source and sizing configuration that renders the image. A CSS width change can expose an undersized source; a responsive candidate rule can select a resource unsuited to the layout. Follow documentation matching the project’s implementation before changing component options.
Treat file size and visual clarity as related constraints. A huge image that still contains unreadable text is not a successful repair. Choose a source and presentation that reveal the project evidence, then compare loading behavior separately.
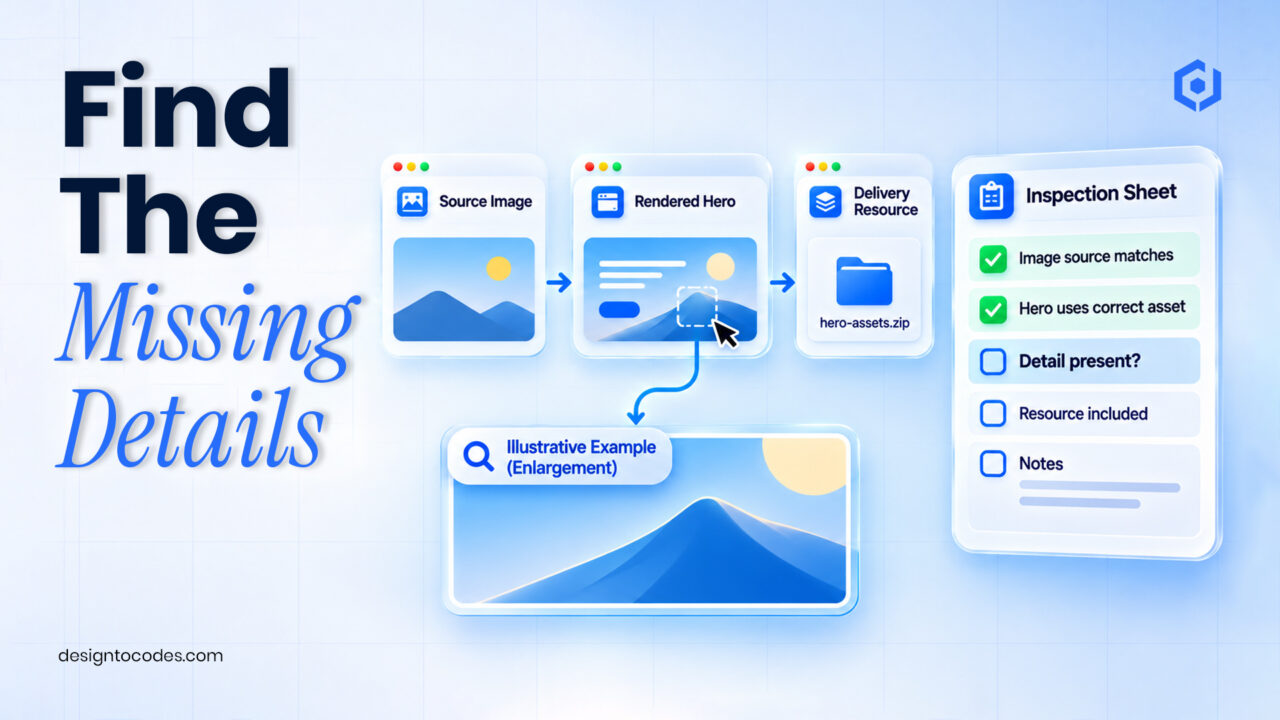
Worked example: a thumbnail reused as a project hero
This is an illustrative diagnosis. A designer reuses a small project-card image for a much wider case-study hero. It looks soft after publishing, so the first attempted repair changes the file format without checking the dimensions.
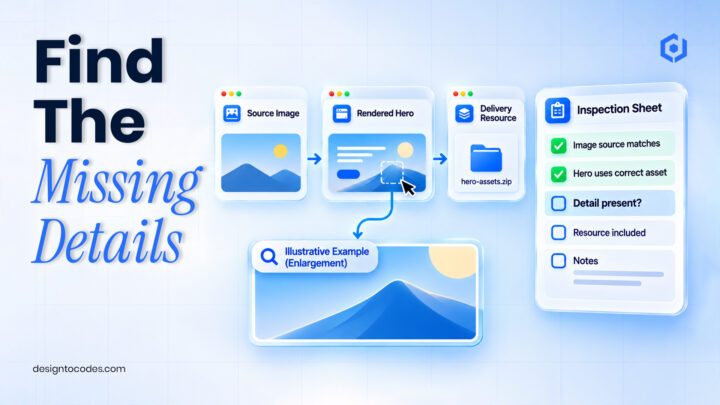
The inspection sheet reveals that the original was already a small preview. The designer returns to the approved larger source, supplies it to the hero and adjusts the crop so the important subject remains visible. A separate detail image shows the interface text at a readable scale.
The before/after record describes the selected source, displayed size and visible detail. It does not claim a higher conversion rate or a measured speed improvement. Those outcomes would require their own evidence.
Step 4: keep the project understandable without tiny text
Add captions that explain the design decision or result the image supports. Provide useful text alternatives for informative images, following the W3C image guidance. Important instructions should not exist only inside an image.
For the surrounding narrative, use the existing graphic-design portfolio guide. If a demo no longer exists, the missing-demo evidence guide helps explain the project’s current status honestly.
Test a layout with your actual assets before buying
Repair the source, crop or delivery setting first. A blurry image alone is not a reason to buy another template. The existing responsive gallery guide can help if the remaining problem is layout.
If your current implementation cannot present the required work, compare Grafik Framer and GraphixPro Next.js using the same approved assets. Check project-card crops, hero dimensions and readable detail images, then confirm editing, image handling and setup requirements. A different template cannot restore detail absent from the source image. DesignToCodes sells the linked products.
Frequently asked questions
Will a larger file always look sharper?
No. It must contain useful source detail and be delivered at an appropriate size. Enlarging a small preview cannot recreate missing information.
Is blur always caused by compression?
No. Source resolution, display scaling, responsive selection and screenshot content can create different problems that look similar.
Should I switch every image to original resolution?
Check the affected image and actual delivery first. Balance clarity and loading behavior rather than applying one setting everywhere.
Why is the subject cut off even when the image is sharp?
Inspect fit and crop behavior. Framing is a different problem from image resolution.
Can a new portfolio template solve the problem automatically?
It cannot restore missing source detail. Choose another layout when it solves a verified presentation or editing requirement, then test your real assets.
Review GraphixPro Next.js for your image-led case study.
Related reading
Sources and platform references
Recent Posts


Recent Blogs
From the Journal
Why do portfolio images look blurry after publishing? Check the
- Nov 10, 2026
- 11:36 AM
What should a SOC analyst portfolio case study show? Show
- Nov 06, 2026
- 7:11 PM
How do you organize a multidisciplinary design portfolio? Organize the
- Nov 03, 2026
- 6:04 PM
Should a service website use a quote calculator or a
- Oct 31, 2026
- 2:13 PM