

Turn Kitchen Project Photos into a Website Case Study
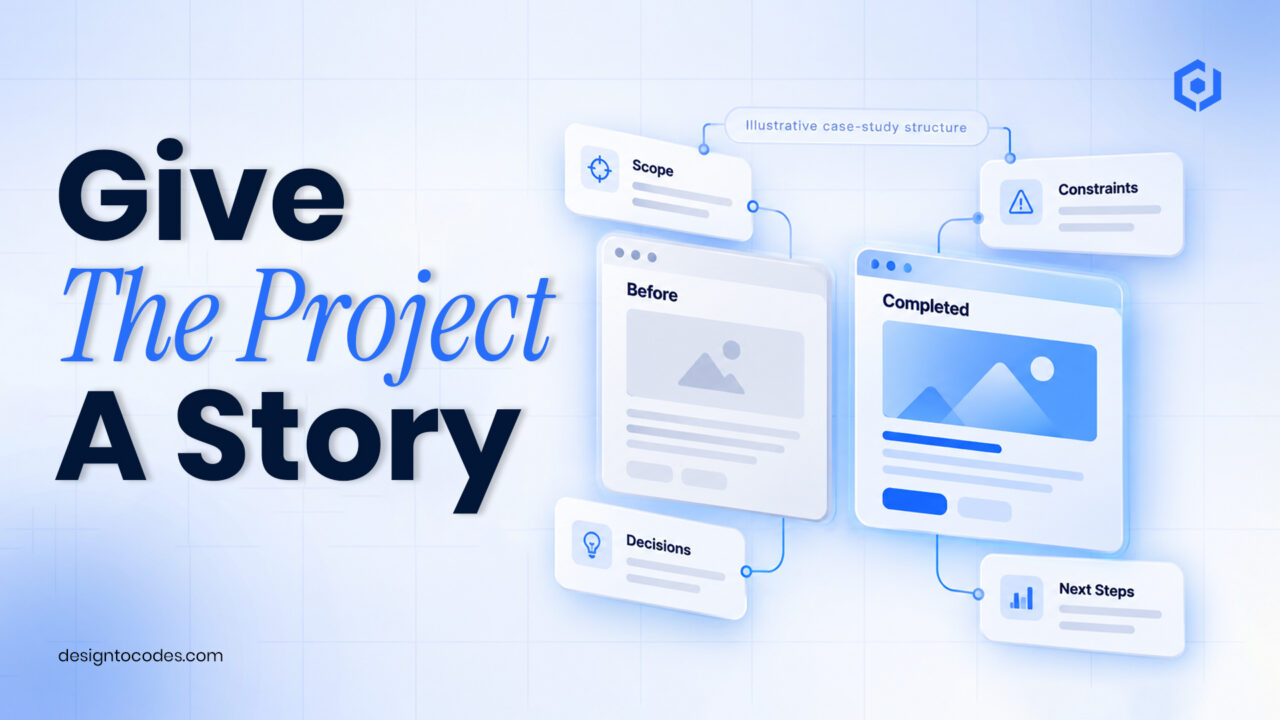
How do you turn kitchen-project photos into a useful case
On this page
How do you turn kitchen-project photos into a useful case study?
Explain the customer’s starting problem, the constraints, the work your business actually completed, and the result you can substantiate. Pair that explanation with approved before-and-after images and a next step suited to a similar project. A gallery shows appearance; a case study helps a homeowner judge whether the work fits their own problem. A kitchen remodeling case study is not a joke.
“Modern kitchen renovation” gives a visitor little context. Was the challenge limited storage, damaged cabinets, an awkward layout, or a complete replacement? Did your company design and install the cabinetry, or supply only one part? Those distinctions matter before a homeowner asks for an estimate.
This article provides a writing worksheet, image sequence, and inquiry handoff. It is distinct from the existing cabinetry template-selection guide: the task here is preparing one publishable project. DesignToCodes sells Cabinetify; the example below is fictional and claims no customer sales results.
Match each homeowner question to evidence
| Homeowner question | Useful case-study material | Weak substitute |
|---|---|---|
| Do you solve a problem like mine? | Starting condition and project objective | A generic “luxury transformation” heading |
| What did you actually do? | Your scope and decisions | Implying responsibility for unrelated trades |
| Can I see the important difference? | Comparable images and explanatory captions | Unlabelled photographs from different angles |
| What might affect my project? | Relevant constraints and estimate process | A fabricated universal price or duration |
| What should I send next? | A focused inquiry prompt | “Contact us” without explaining the next step |
Use the worksheet to identify missing facts before writing. If a result cannot be verified, describe the observable change instead. “Added pull-out storage in the corner cabinet” is more defensible than an unsupported percentage improvement in usability.
Step 1: Establish what you can publish
Collect the project brief, your actual scope, and the materials you are allowed to show. Confirm publication permission through your normal business process. If the client does not want an address or personal details displayed, those details are rarely necessary to explain the work.
Record who took the images and whether you may use them. A third-party inspiration image belongs in an explicitly labelled mood board, not in a completed-project gallery. Keep a visible distinction between a proposed design, an installation in progress, and completed work.
Step 2: Write the case study in six parts
| Section | Writing prompt | Evidence to prepare |
|---|---|---|
| Project summary | What problem did the homeowner want solved? | Agreed brief or approved account |
| Starting condition | What made the existing kitchen difficult? | Before image and a specific explanation |
| Constraints | What shaped the available choices? | Verified space, access or retained-feature details |
| Scope and decisions | What did your team do, and why? | Your work record and relevant materials |
| Finished result | What visibly changed? | Approved completed images and factual captions |
| Next step | How does a similar homeowner start a discussion? | Real estimate process and contact route |
Write the first draft in ordinary language. Explain a layout decision through the customer’s need before naming every material. Keep technical details that help a visitor understand fit, maintenance, or the estimate process; remove details included only to make the project sound complicated.
Step 3: Make the image sequence tell the same story
Choose a small set of images that support the text. Begin with the starting condition, show the relevant decision or construction detail where permitted, and finish with the completed area. For a comparison, use compatible angles when available and explain meaningful differences in the caption.
Use text labels for “before,” “proposed,” and “completed.” Do not depend on a slider position or color to establish what the image represents. Provide informative text alternatives where the image conveys useful information; the W3C image decision tree explains how to choose an appropriate alternative.
For layout implementation, the existing responsive gallery guide covers the image section. Keep this case study about the project evidence rather than repeating that code tutorial. Check that the page remains readable when captions and project descriptions are longer than the template’s samples.
Worked example: storage without replacing the whole kitchen
This is a fictional writing model. A homeowner has limited usable storage, while the existing worktop and some cabinet units remain suitable. A cabinet business supplies and installs replacement storage units and refits selected doors. Another contractor handles electrical work.
The case study says exactly that. Its title identifies the storage problem. The starting image explains the difficult corner access; the completed image shows the installed pull-out arrangement. The scope paragraph credits only the cabinetry work, and the caption identifies the retained worktop.
The result is described as the completed storage arrangement. The example does not invent a project price, construction duration, testimonial or percentage increase in property value. A visitor can understand the work without those claims.
Step 4: Connect the project to the right inquiry
After the evidence, explain what information a similar homeowner should provide for an initial discussion. A location, contact method, and short description may be enough to start; photographs or detailed measurements can come later if the business needs them. State whether the next step is a consultation request or a confirmed appointment.
Use the existing CTA design guide for presentation patterns, and test actual delivery through the contact-form diagnosis guide. A compelling project does not establish that an inquiry has reached staff.
Link the project to the relevant service description and, when useful, another genuinely related project. Avoid placing the same large template advertisement after every photograph. The homeowner is choosing a contractor; template-buying instructions belong in a separate implementation note for the owner or developer.
Choose the website implementation after preparing the case study
Inspect Cabinetify’s Framer version when visual editing fits your team. Use your completed case study to check available project layouts, long text, captions, and mobile viewing. Confirm the exact delivered pages and CMS arrangement before purchase.
DesignToCodes’ Cabinetify overview introduces the product. Its promotional outcome claims are not evidence for your project. If your current website already presents the case study well, publish there rather than assume a complete rebuild is necessary.
Frequently asked questions
How many photographs does a kitchen case study need?
Use enough approved images to explain the starting condition and relevant result. The evidence and mobile reading experience matter more than a fixed image count.
Should every case study include a price?
Include accurate price context only when the business can publish it and explain its scope. Otherwise describe the estimate process and important constraints.
Can I include proposed renders beside completed photos?
Yes, when their use is permitted, and the difference is clearly labelled. Do not present a proposal as completed customer work.
What if several contractors worked on the project?
State your contribution precisely and credit other work appropriately. Do not imply that your team completed the entire renovation.
Does Cabinetify automatically supply a project CMS?
Check the exact product and package. The writing model here is an implementation requirement, not a verified claim about every Cabinetify version.
Cabinetify Framer cabinetry-site layout. Compare its current format and included scope with the task in this guide.
Related reading
Sources and platform references
Recent Posts




Recent Blogs
From the Journal
How do you turn kitchen-project photos into a useful case
- Oct 13, 2026
- 11:46 AM
How do you build a gym class timetable that stays
- Oct 10, 2026
- 11:59 AM

How should a service business build service-area pages? Build service
- Oct 06, 2026
- 5:51 PM
Should your business website use Framer or Next.js? Next.js vs.
- Oct 05, 2026
- 5:16 PM