This comprehensive guide will walk you through the process of installing and configuring your website template, ensuring a seamless and hassle-free experience. We’ll cover essential steps, from choosing the right web hosting plan to customizing your template, to help you create a professional-looking website with ease. Whether you’re a beginner or an experienced web developer, this step-by-step guide will equip you with the knowledge and tools needed to master website template installation and configuration.
Key Takeaways
- Learn how to choose the right web hosting plan for your website template
- Understand the process of setting up your domain and connecting it to your web hosting
- Discover the steps involved in uploading and installing your website template
- Explore techniques for customizing and configuring your website template
- Gain knowledge on integrating your template with a content management system (CMS)
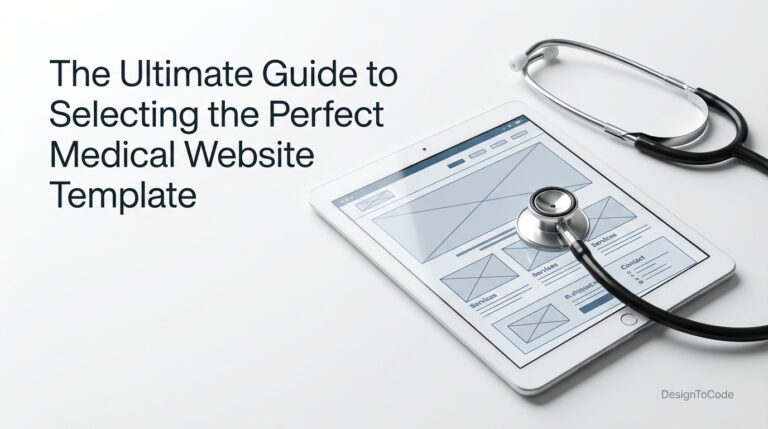
Introduction to Website Templates
In the realm of web development, website templates have emerged as a powerful tool, revolutionizing the way we approach building online presences. These pre-designed layouts and structures provide a solid foundation for creating websites, offering a wealth of benefits to both novice and experienced web developers alike.
What are Website Templates?
Website templates are essentially pre-made content management system (CMS) or web development frameworks that include a combination of HTML, CSS, and JavaScript code, as well as placeholder content and images. They serve as a starting point for building a website, eliminating the need to start from scratch and allowing for a more streamlined and efficient development process.
Benefits of Using Website Templates
Utilizing website templates offers numerous advantages, including:
- Time-saving: Templates significantly reduce the time and effort required to build a website, as the core structure and design elements are already in place.
- Cost-effective: Compared to custom web development, using a template can be a more cost-effective solution, especially for small to medium-sized businesses or individuals with limited budgets.
- Responsive Design: Many modern website templates are designed to be responsive, ensuring that your website looks and functions optimally across a variety of devices and screen sizes.
- Customization Flexibility: While templates provide a starting point, they can often be extensively customized to match your unique web development needs and branding requirements.
By leveraging the power of website templates, you can streamline your web development process, create a visually appealing and responsive online presence, and do so in a cost-effective manner. As you embark on your journey to install and configure your website template, you’ll discover a wealth of opportunities to enhance your digital footprint and connect with your audience.
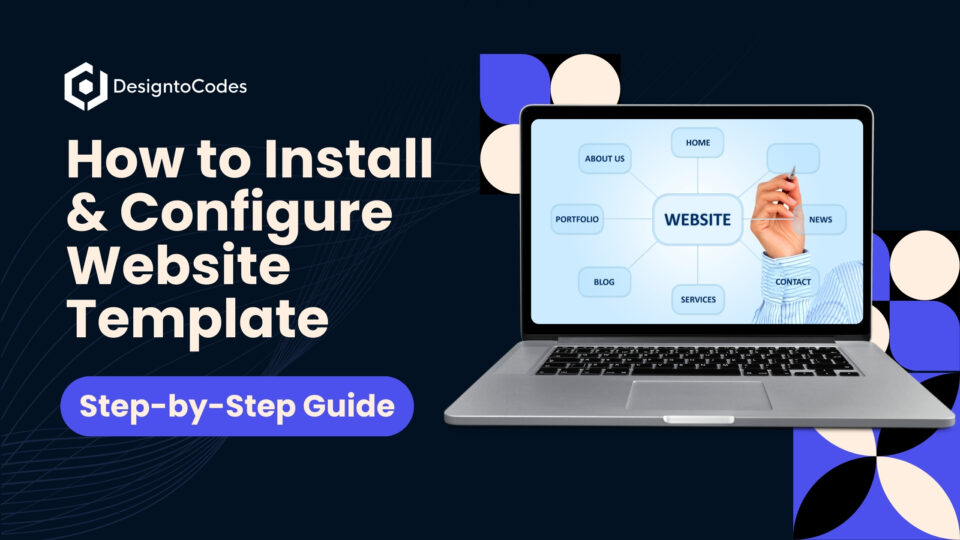
How to Install and Configure Your Website Template: A Step-by-Step Guide
In this comprehensive section, we’ll guide you through the step-by-step process of installing and configuring your website template. We’ll cover the necessary steps, including choosing a web hosting plan, setting up your domain, uploading the template files, and customizing the template to meet your specific needs.
Starting with web hosting, you’ll learn how to select the right plan that suits your website development requirements, whether it’s shared hosting, VPS, or dedicated hosting. We’ll also discuss the importance of domain registration and how to connect your domain to your web hosting account.
Next, we’ll guide you through the process of uploading and installing the website template. This includes downloading the template files and securely uploading them to your web server. We’ll ensure you have a solid understanding of this crucial step in the content management system (CMS) integration and website customization process.
Finally, we’ll dive into the customization and configuration of your website template. This involves editing the template files directly, such as modifying the HTML, CSS, and JavaScript code, as well as integrating the template with a content management system like WordPress, Joomla, or Drupal.
By the end of this section, you’ll be equipped with the knowledge and skills needed to install and configure your website template effectively, setting the foundation for a professional-looking and customized online presence.
Choosing the Right Web Hosting Plan
When it comes to installing and configuring your website template, the first step is to choose the right web hosting plan. This decision will have a significant impact on the performance, scalability, and overall success of your website. Web hosting providers offer a variety of options, each with its own set of features and benefits, so it’s crucial to evaluate your specific needs and select the plan that best fits your requirements.
Shared Hosting vs. VPS vs. Dedicated Hosting
The three main types of web hosting plans are shared hosting, VPS (Virtual Private Server), and dedicated hosting. Shared hosting is the most cost-effective option, where your website shares server resources with other websites. VPS offers more dedicated resources and better performance than shared hosting, while dedicated hosting provides you with a entire server for your exclusive use, offering the highest level of control and customization.
When deciding between these options, consider factors such as your website’s traffic, resource requirements, and budget. Shared hosting may be suitable for small to medium-sized websites with moderate traffic, while VPS or dedicated hosting may be more appropriate for larger, high-traffic websites or those with specific performance needs.
Top Web Hosting Providers
To help you make an informed decision, here’s a comparison of some of the top web hosting providers and the services they offer:
| Provider | Shared Hosting | VPS | Dedicated Hosting |
|---|---|---|---|
| Bluehost | ✓ | ✓ | ✓ |
| GoDaddy | ✓ | ✓ | ✓ |
| HostGator | ✓ | ✓ | ✓ |
| SiteGround | ✓ | ✓ | ✓ |
| InMotion Hosting | ✓ | ✓ | ✓ |
By carefully evaluating your website’s needs and comparing the features and pricing of different web hosting providers, you can make an informed decision and choose the plan that will best support the installation and configuration of your website template.
Setting Up Your Domain and Web Hosting
After selecting a web hosting plan, the next step in the process of how to install and configure your website template: a step-by-step guide is to set up your domain name and connect it to your web hosting account. Your domain name is the unique address that users will use to access your website, and it’s an essential part of your online branding.
Registering a Domain Name
To register a domain name, you’ll need to search for and select an available domain that aligns with your website’s purpose and branding. Many web hosting providers offer domain registration services, making it easy to purchase and manage your domain name alongside your web hosting plan. Alternatively, you can use a dedicated domain registrar such as GoDaddy, Namecheap, or Google Domains to secure your desired domain name.
Connecting Your Domain to Web Hosting
Once you have registered your domain name, the next step is to connect it to your web hosting account. This process typically involves updating your domain’s DNS (Domain Name System) settings to point to the servers provided by your web hosting provider. Your web hosting provider will often guide you through this process, ensuring a seamless domain to web hosting connection.
Uploading and Installing the Website Template
Once you have your web hosting plan and domain set up, the next step is to upload and install your website template. This process typically involves two main steps: downloading the template files and uploading them to your web server.
Downloading the Template Files
The first step is to download the website template files from the provider or marketplace where you purchased or obtained the template. This download will typically be in a compressed format, such as a ZIP or TAR file, containing all the necessary HTML, CSS, JavaScript, and media files that make up the template.
Uploading Files to Web Server
After downloading the template files, the next step is to upload them to your web server. This can be done through your web hosting provider’s control panel or by using an FTP (File Transfer Protocol) client. Depending on your hosting plan, you may have access to a file manager or a deployment tool that simplifies the upload process.
When uploading the files, make sure to preserve the directory structure of the template. This will ensure that all the files and assets are properly linked and the template functions as intended. Once the upload is complete, you can typically access your website by visiting the domain name you’ve set up.
Customizing and Configuring the Template
The final step in the process of installing and configuring your website template is to customize and configure it to match your specific needs and branding. This step may involve directly editing the template files, such as modifying the HTML, CSS, and JavaScript code, or integrating the template with a content management system (CMS) like WordPress, Joomla, or Drupal.
Editing Template Files
Customizing your website template often requires editing the template files to incorporate your desired design, layout, and functionality. This may involve making changes to the HTML structure, updating the CSS styles to match your brand’s visual identity, or modifying the JavaScript code to add interactive features.
When editing the template files, it’s important to have a good understanding of web development technologies and best practices. If you’re not comfortable with these tasks, consider working with a web developer or designer who can help you make the necessary changes to your template.
Integrating with Content Management System
Alternatively, you can integrate your website template with a content management system (CMS) like WordPress, Joomla, or Drupal. This approach allows you to leverage the flexibility and ease of use provided by these platforms, while still maintaining the custom design and functionality of your website template.
To integrate your template with a CMS, you’ll need to ensure that the template is compatible with the specific platform and follow the integration guidelines provided by the CMS. This may involve creating custom page templates, configuring plugin settings, and managing content within the CMS interface.
By customizing and configuring your website template, you can create a unique and visually appealing website that reflects your brand’s identity and meets your specific requirements. Whether you choose to edit the template files directly or integrate with a CMS, this step is crucial for transforming your website template into a fully functional and personalized online presence.
Conclusion
In conclusion, this step-by-step guide has provided you with a comprehensive understanding of how to install and configure your website template for a seamless and hassle-free web development experience. By following the outlined steps, you’ll be able to choose the right web hosting plan, set up your domain, upload and install the template, and customize it to match your specific needs.
From selecting the appropriate content management system (CMS) to integrating your template with the chosen platform, this guide has covered all the essential elements of website development and customization. With the knowledge and skills gained from this comprehensive walkthrough, you’ll be well-equipped to create a professional-looking website that not only meets your business objectives but also aligns with the latest industry standards.
Remember, the key to success in the digital landscape is to continually adapt and refine your online presence. By staying up-to-date with the latest trends and best practices in web hosting and domain registration, you can ensure that your website remains a powerful and effective tool for reaching your target audience and achieving your desired goals.
FAQ
What is a website template?
A website template is a pre-designed layout and structure that provides a foundation for building a website. It typically includes a combination of HTML, CSS, and JavaScript code, as well as placeholder content and images.
What are the benefits of using a website template?
Using a website template can significantly simplify the web development process, as it eliminates the need to start from scratch. Website templates provide a professional-looking design, streamlined structure, and a range of customization options to suit your specific needs.
How do I choose the right web hosting plan for my website?
When choosing a web hosting plan, you’ll need to consider factors such as your website’s traffic, storage requirements, and budget. The main options include shared hosting, VPS (Virtual Private Server), and dedicated hosting, each with its own benefits and drawbacks.
How do I register a domain name and connect it to my web hosting?
Registering a domain name is the first step in setting up your website. You can purchase a domain from a domain registrar and then connect it to your web hosting account, which allows users to access your website using the domain name.
How do I upload and install my website template?
To upload and install your website template, you’ll need to first download the template files from the provider. Then, you’ll need to upload those files to your web server, either through your web hosting control panel or using an FTP (File Transfer Protocol) client.
How do I customize and configure my website template?
Customizing and configuring your website template involves editing the template files, such as modifying the HTML, CSS, and JavaScript code, to match your specific branding and design requirements. You can also integrate the template with a content management system (CMS) like WordPress, Joomla, or Drupal.